
TLDR: by default, Illustrator provides a harsh white background for each file. For a much nicer experience:
- enable the Transparency Grid (cmd-shift-D)
- set the two Transparency Grid colors to be the same (cmd-option-P)
By saving an empty file as a template, files will default to the the new color.
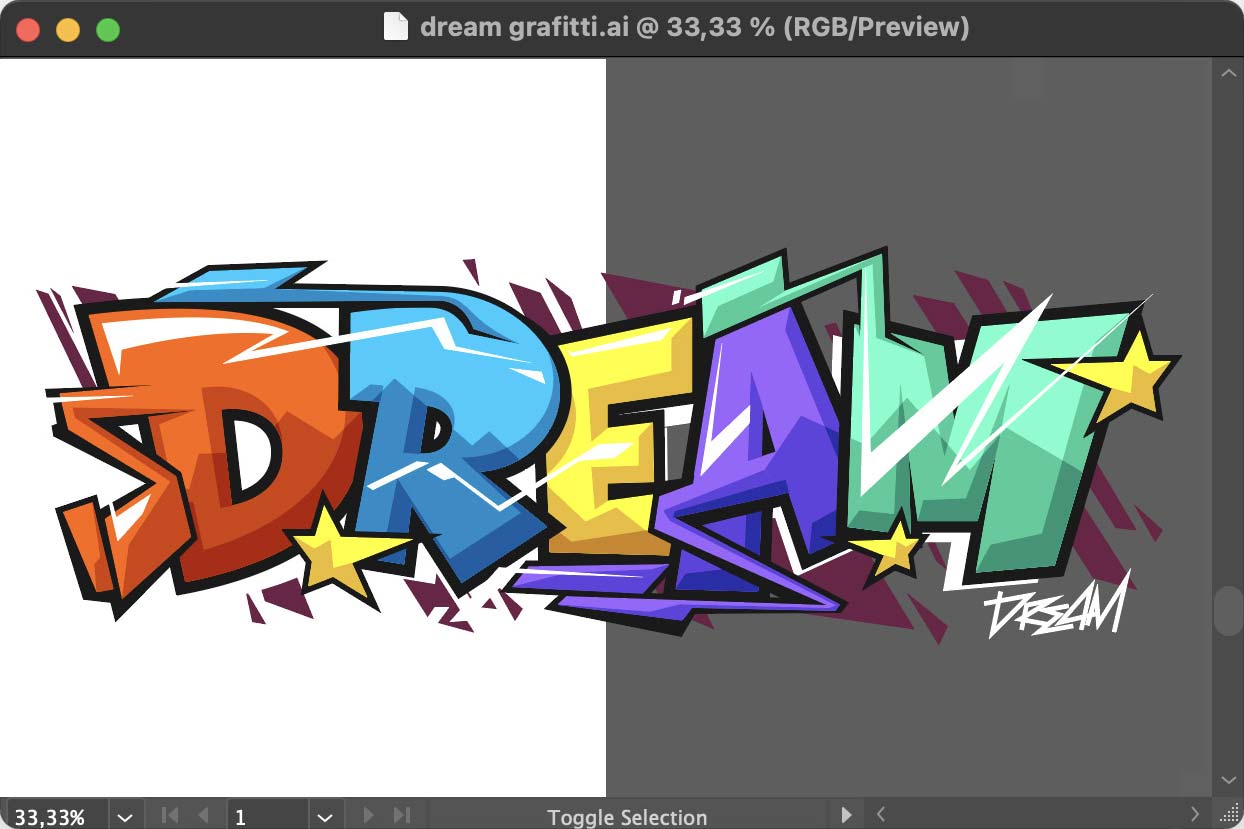
By default, Illustrator provides a white background for your artwork:
There are two reasons why this is not optimal:
- any elements of the design that are white are invisible
- working on a bright white background makes it difficult to accurately perceive the colors in the design
The great masters knew this — scratch any important painting and you’ll see that it was painted on a colored background.
We’re going to change the white background to this:
The Transparency Grid
You can turn on the transparency grid by typing cmd-shift-D, or by looking under the menu View › Show Transparency Grid. Remember that command — you’ll be using it a lot!
Here’s what it looks like when we turn it on:
The default colors are unusable, but we’re going to fix that.
Document Setup
In the Control Bar (Window › Control), click on Document Setup (or type cmd-option-P):
This will launch the following panel:
We’re going to change the color of the white and gray boxes in the above image.
The key is to set them both to the same color; this will be our new background.
Just click on one of them:
Use the crayon picker, and set both rectangles to Iron color (which matches the Illustrator interface nicely).
After clicking OK, here is what the document will look like:
It’s a much nicer working environment, and depending on the project, it might even be necessary.
Tip 1: type cmd-shift-H to hide the black line around the artwork while you’re working and it’s even nicer (or menu View › Hide Artboards).
Tip 2: save a template with this setting and you’ll never have to change it again.